How to Compress Images Without Losing Quality
Learn how to compress JPG, PNG and WebP images while keeping them clear, sharp and optimized for websites, blogs, email and faster loading pages.
Quick summary
The best way to compress images without losing quality is to reduce unnecessary file weight while preserving visual clarity. For websites, this usually means resizing images to the correct dimensions, choosing the right format and applying smart compression instead of maximum compression.
Key takeaways
- Compressing images reduces file size and helps websites load faster.
- For best results, resize images before compressing them.
- Use WebP when possible for modern website performance.
How does image compression work?
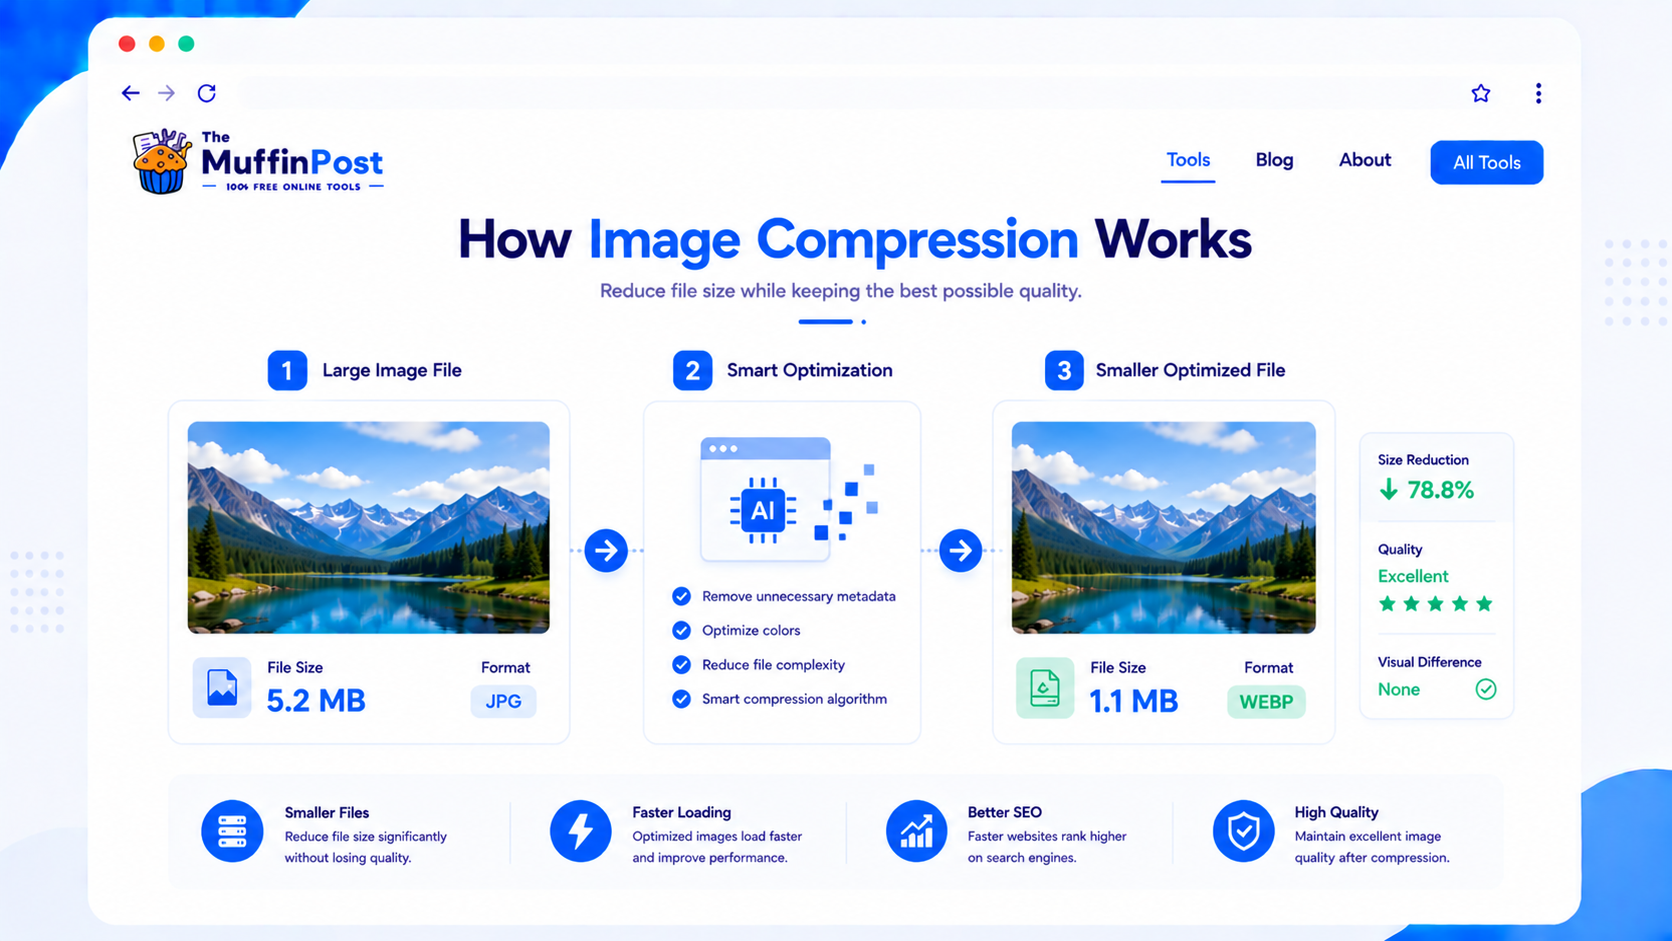
Image compression reduces the amount of data inside an image file. It can remove unnecessary information, optimize color data, reduce metadata and make the file easier to store, upload and display online.
There are two main types of compression: lossy and lossless. Lossy compression creates smaller files by removing some data that is less noticeable to the human eye. Lossless compression keeps the original image data more intact, but the file size reduction is usually smaller.
Why image compression matters
Large image files can slow down pages, increase bandwidth usage and create a poor experience on mobile devices. Compressing images helps pages load faster and makes your content easier to access.
- Faster website loading.
- Smaller files for email and uploads.
- Better user experience on mobile devices.
- Improved website performance and optimization.
How to compress images online step by step
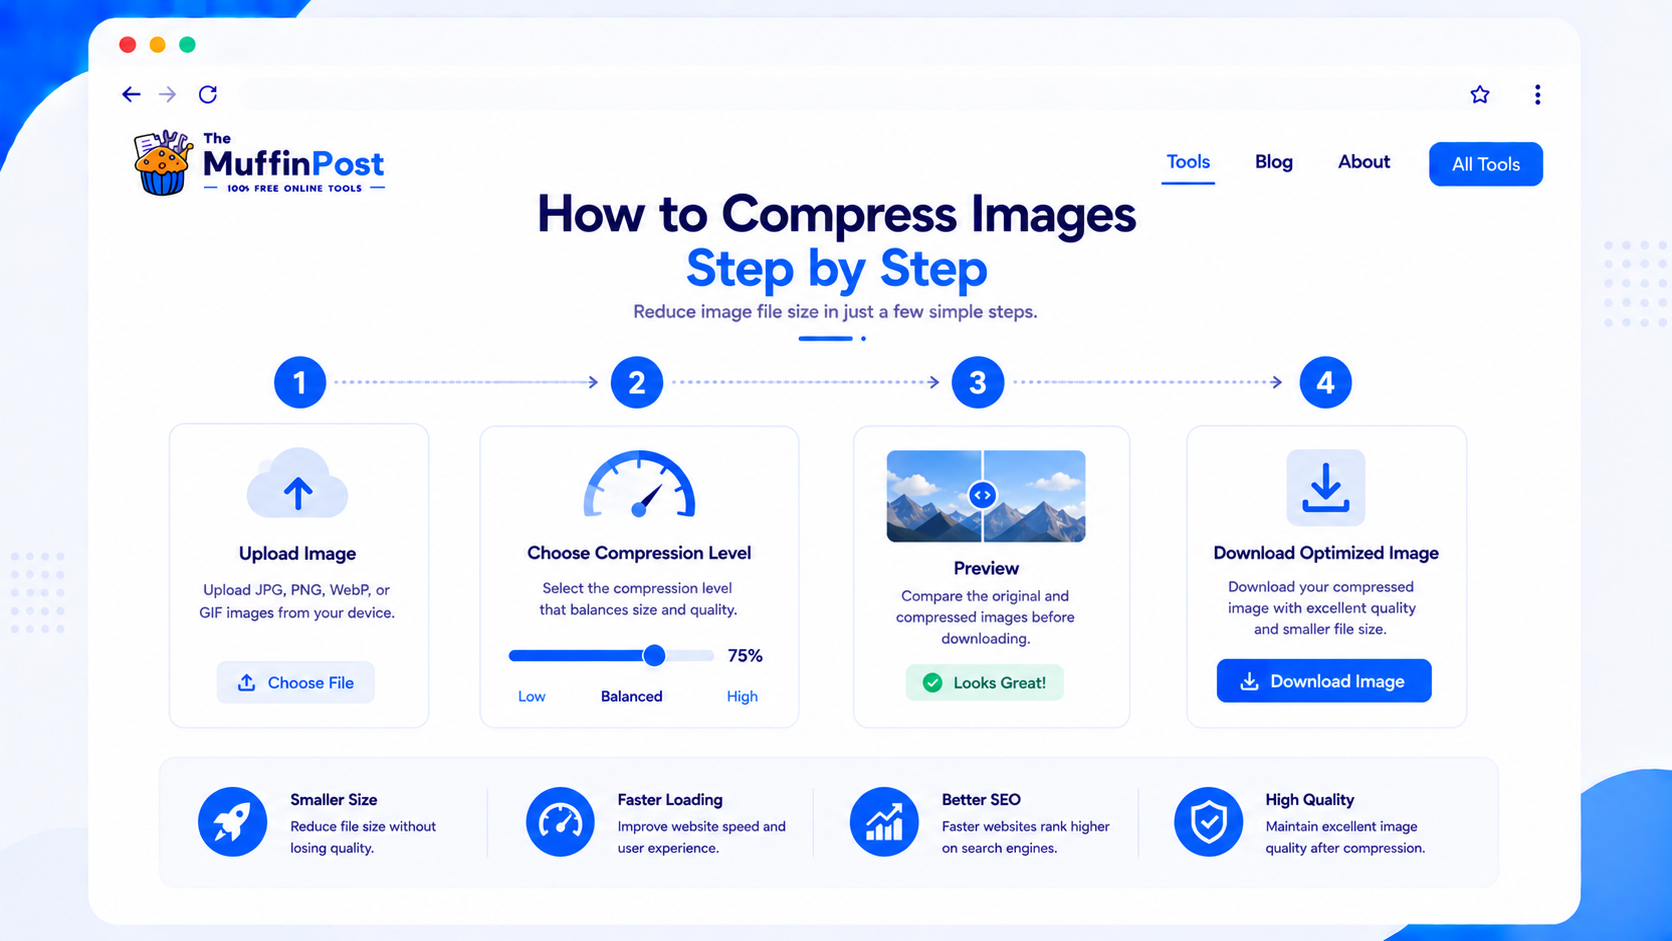
A browser-based image compressor is the easiest way to reduce image file size quickly. You upload your image, choose a compression level, preview the result and download the optimized file.
Step 1: Open the Compress Image tool
Start with the Compress Image tool. It helps you reduce image file size directly in your browser.
Step 2: Upload your image
Upload your JPG, PNG or WebP image. For best results, use the original image file instead of a file that has already been compressed many times.
Step 3: Choose compression carefully
Use balanced compression when you want to keep the image looking clear. Maximum compression may create smaller files, but it can also introduce blur, artifacts or visible quality loss.
Step 4: Preview and download
Check the preview before downloading. If the image still looks sharp and the file size is smaller, the compression result is good.
Complete image compression workflows
Compression works best when it is combined with resizing and the correct output format.
Image compression before and after
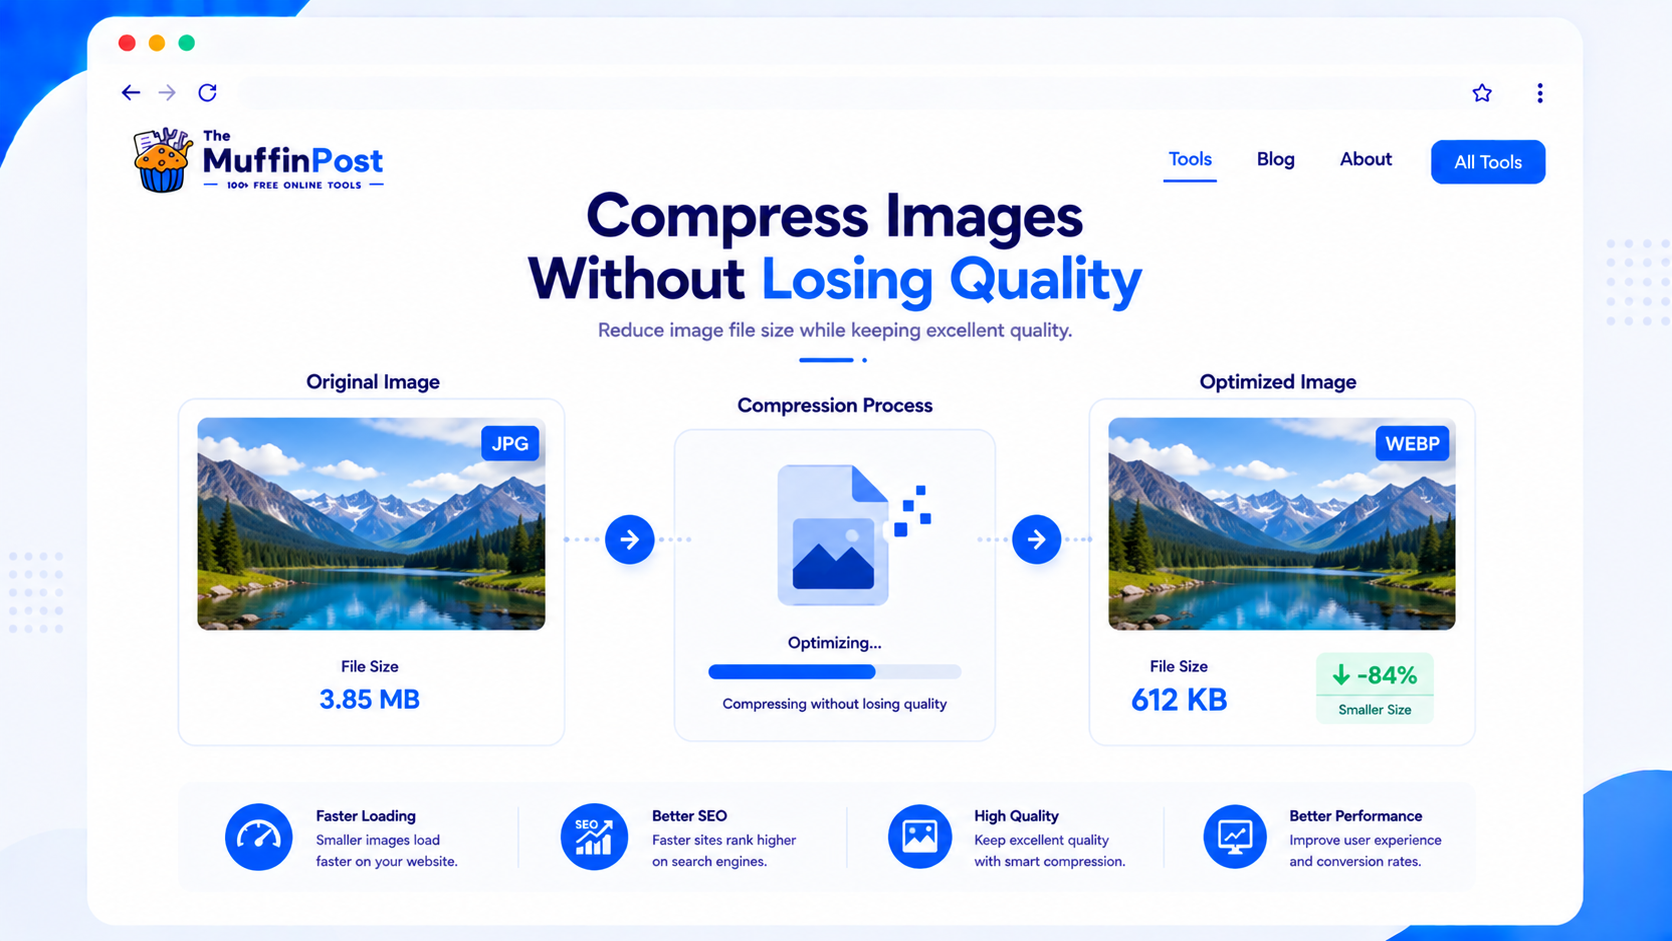
One of the biggest concerns when compressing images is whether the quality will noticeably decrease. With modern compression techniques, it is possible to reduce file size dramatically while keeping the image looking almost identical to the original.
For websites, the goal is not to preserve every pixel perfectly. The goal is to create images that look excellent on screens while loading as quickly as possible.
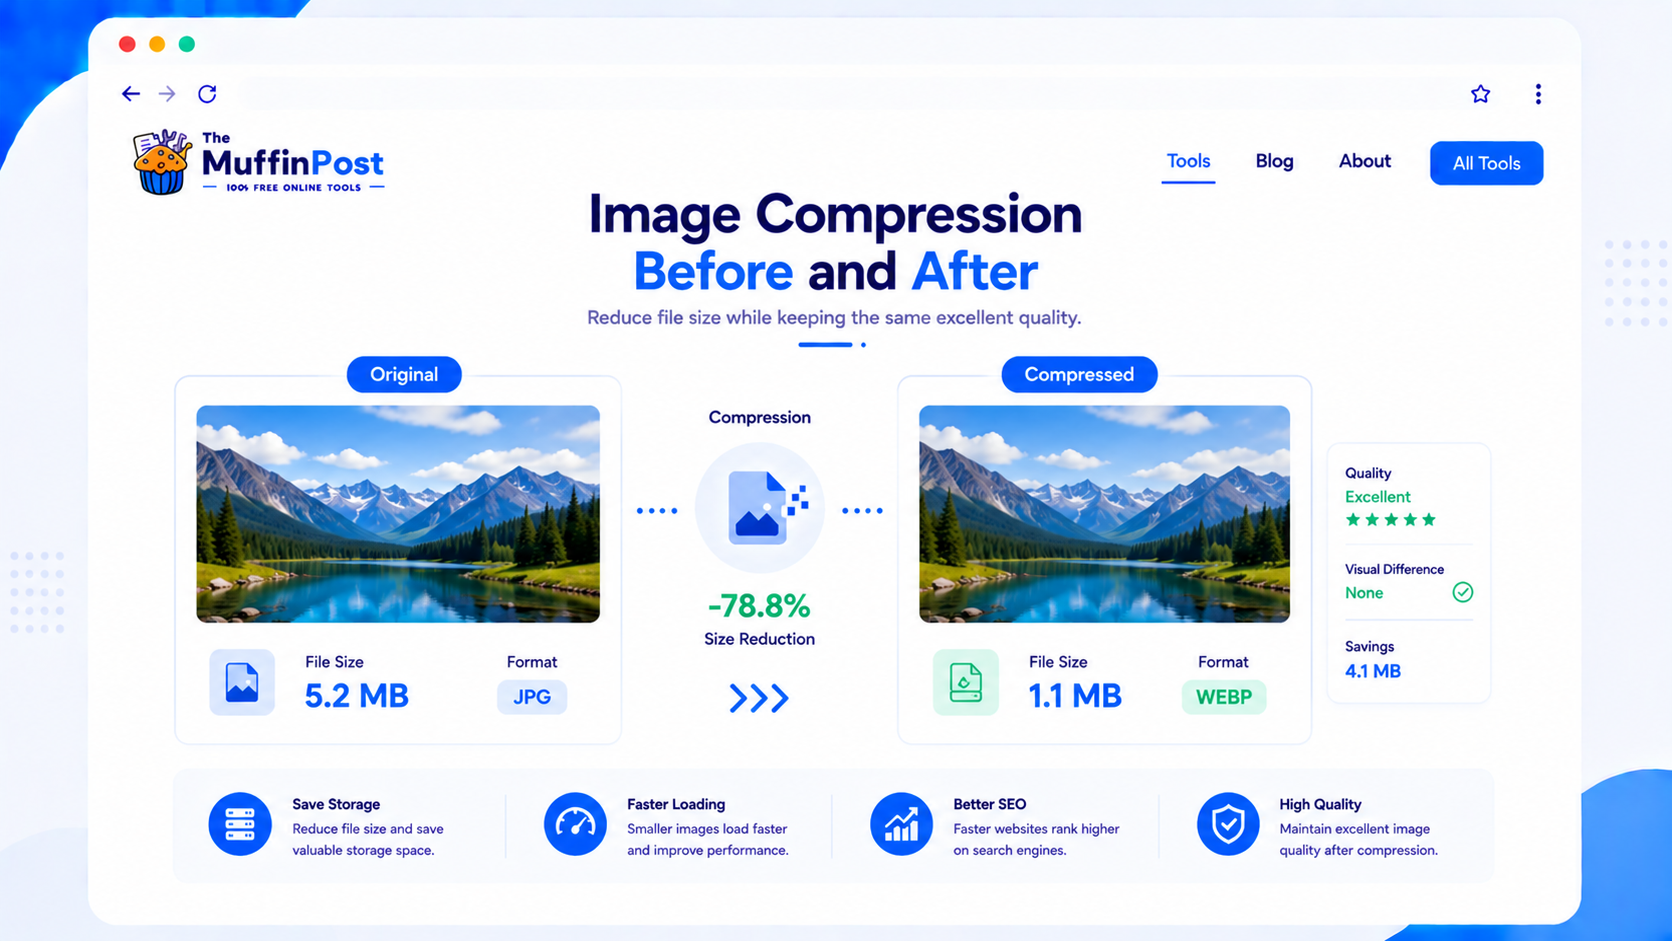
| Original image | Compressed image |
|---|---|
| Large file size | Much smaller file |
| Slower loading | Loads faster |
| Higher bandwidth usage | Lower bandwidth usage |
| Full visual detail | Nearly identical appearance |
Choose the right compression strategy
The best compression settings depend on the type of image and where it will be used.
Photos
Use balanced lossy compression and consider JPG or WebP for significantly smaller files.
Logos and graphics
Use PNG or WebP when transparency and sharp edges are important.
Screenshots with text
Avoid aggressive compression because small text and interface details can become blurry.
How to keep image quality when compressing
Compressing an image does not automatically mean making it blurry. Most quality problems happen because images are compressed too aggressively, enlarged after compression or saved repeatedly in a lossy format.
The best workflow is to resize the image first, choose the correct format and then apply balanced compression. This gives you a smaller file while keeping the image clean and professional.
Resize first
Resize the image to the actual dimensions you need before compressing it.
Use WebP
For modern websites, WebP can often keep good quality with smaller files.
Preview quality
Always compare the compressed result with the original before publishing.
Common image compression mistakes
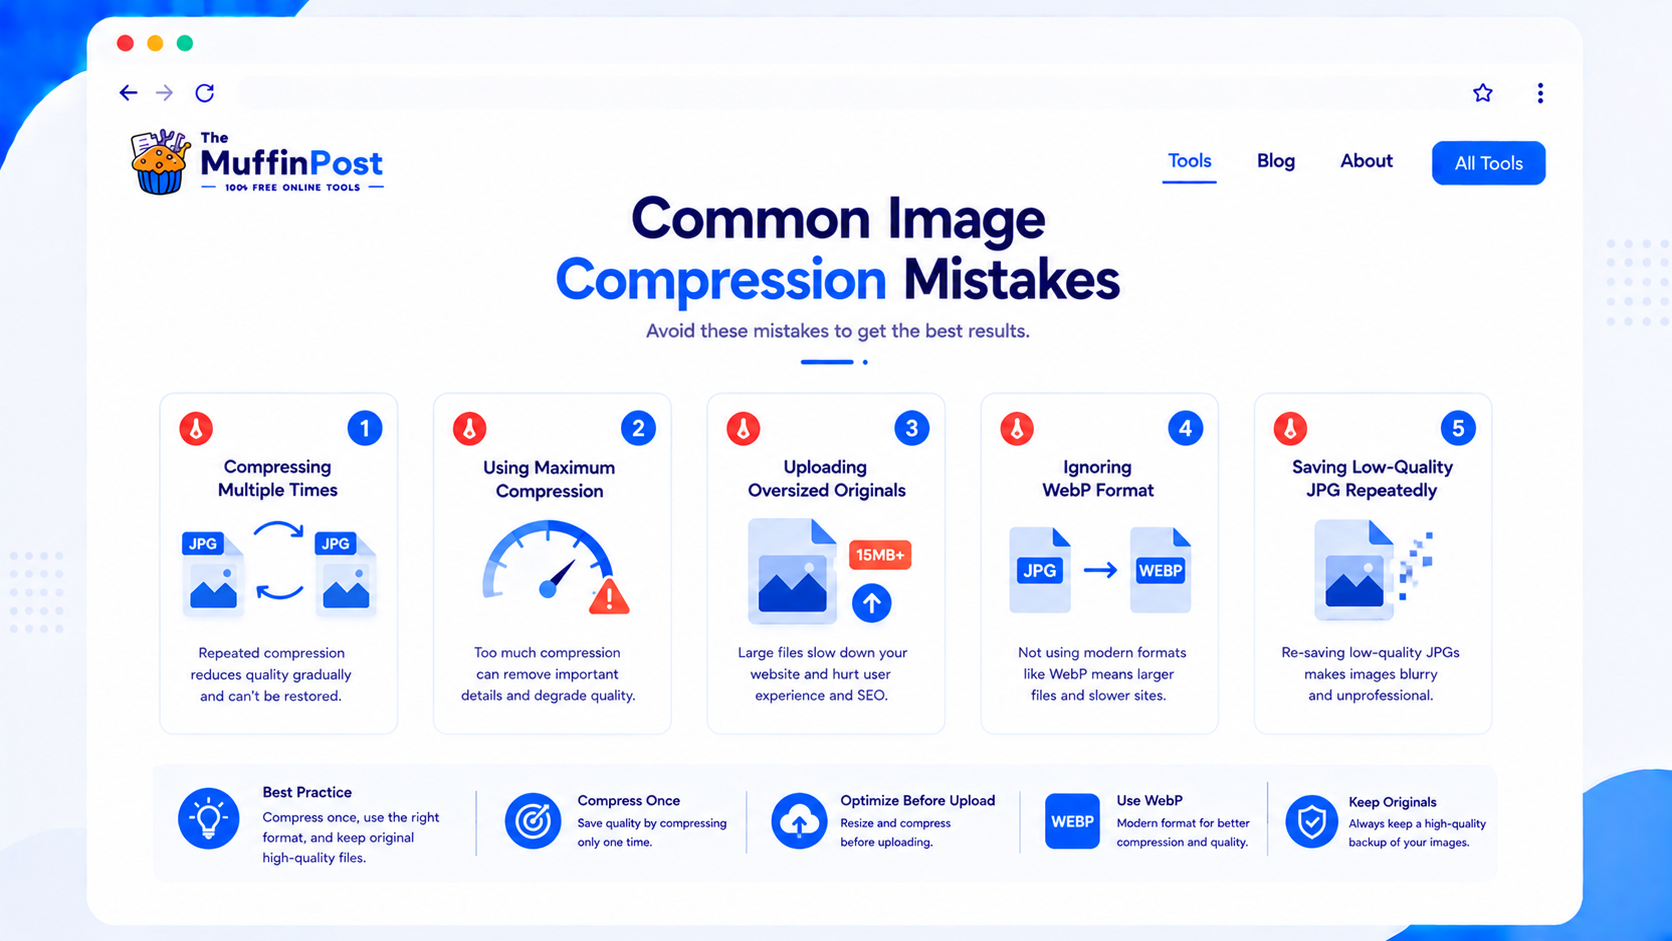
The strongest compression setting can make images blurry, especially for photos with detail, gradients or small text.
Repeated lossy compression can gradually reduce quality and create visible artifacts.
A 4000px image does not need to be uploaded if it will display at 800px on the page.
Image compression best practices
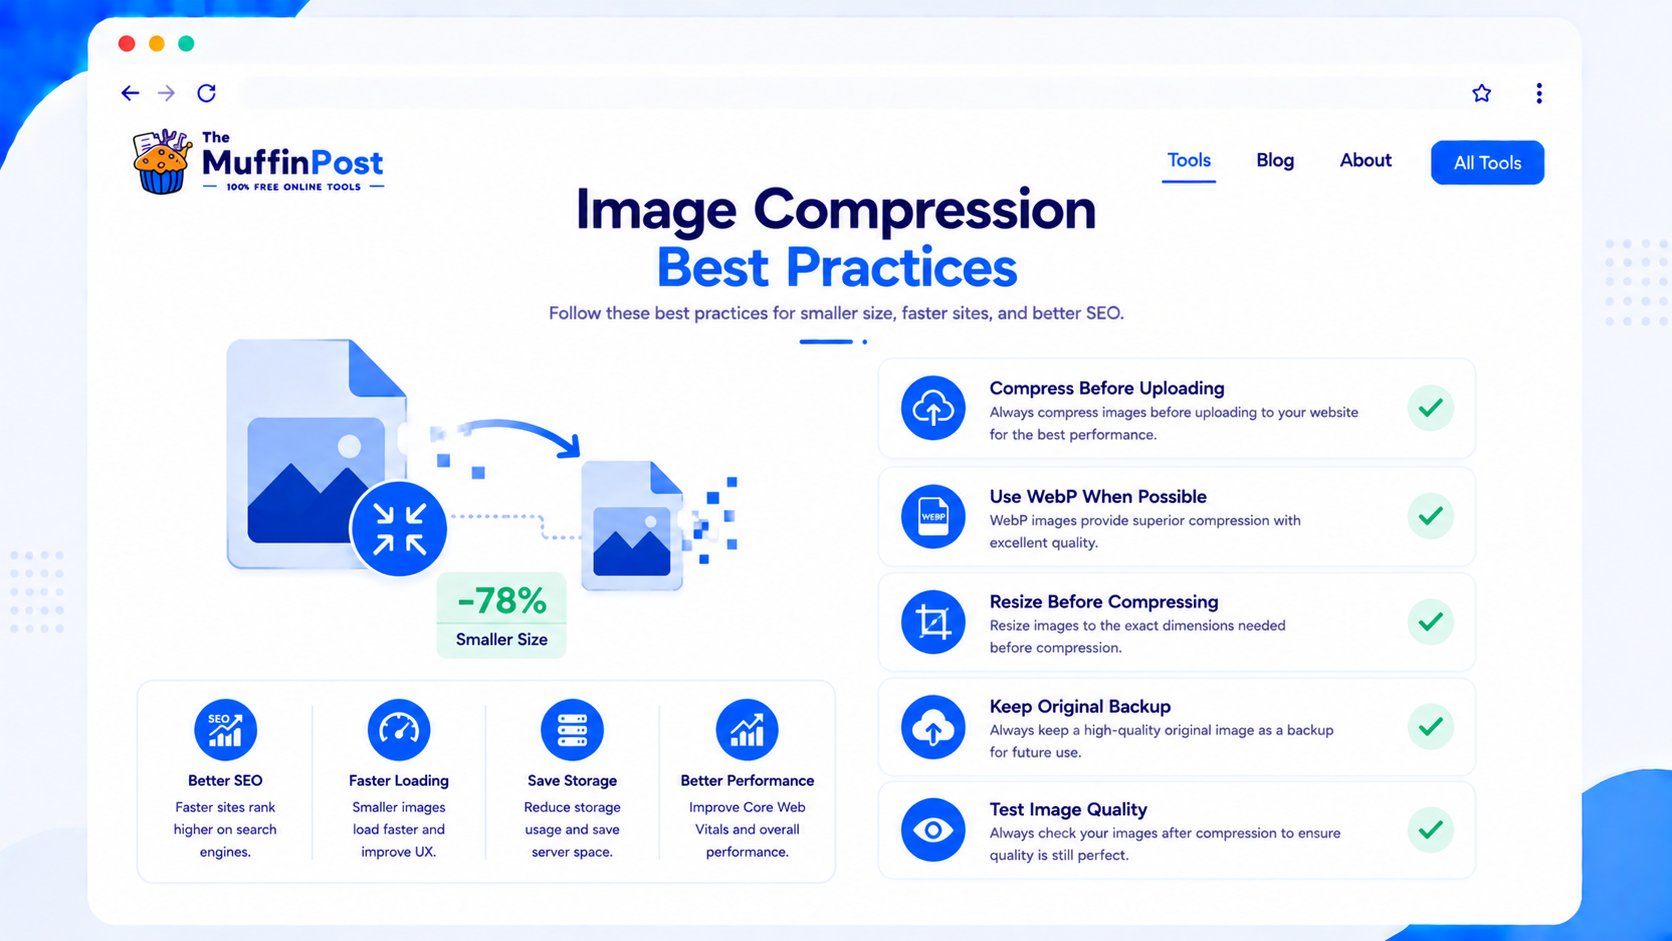
Compress before upload
Optimize images before adding them to WordPress or any website builder.
Choose the format
Use JPG for photos, PNG for transparency and WebP for modern websites.
Keep a backup
Save the original file so you can export again if you need a different size or quality level.
Start here: compress your image
Reduce JPG, PNG and WebP file size, then continue with resizing, cropping or modern format conversion.
Open Compress ImageView Image ToolsImage Learning Center
Continue with the complete image format and optimization guide collection.
Frequently asked questions
How do I compress images without losing quality?
Use balanced compression, resize the image first and preview the result before downloading or publishing.
What image formats can I compress?
You can compress common image formats such as JPG, PNG and WebP depending on the tool you use.
Does image compression reduce quality?
Compression can reduce quality if it is too aggressive. Balanced compression can reduce file size while keeping the image visually clear.
Should I resize images before compressing?
Yes. Resizing first often creates better results because the image is already closer to the final display size.
Which format is best for compressed website images?
WebP is often the best choice for modern websites because it can provide smaller files with strong visual quality.
Is PNG or JPG better for compression?
JPG is usually better for photos and smaller file sizes. PNG is better for transparency, logos and sharp graphics.
Can I compress images for email?
Yes. Compressing images can make them easier to attach, upload and share by email.
Which tools are related to image compression?
Helpful related tools include Resize Image, JPG to WebP, PNG to WebP, JPG to PNG, PNG to JPG and Crop Image.

About the author
The MuffinPost Editorial Team creates practical guides for online tools, productivity, file conversion, calculators, marketing workflows and developer utilities.
Complete your image optimization workflow
Compress, resize, crop and convert images using the complete collection of free browser-based image tools.
Compress Image NowResize ImageBrowse Image Tools